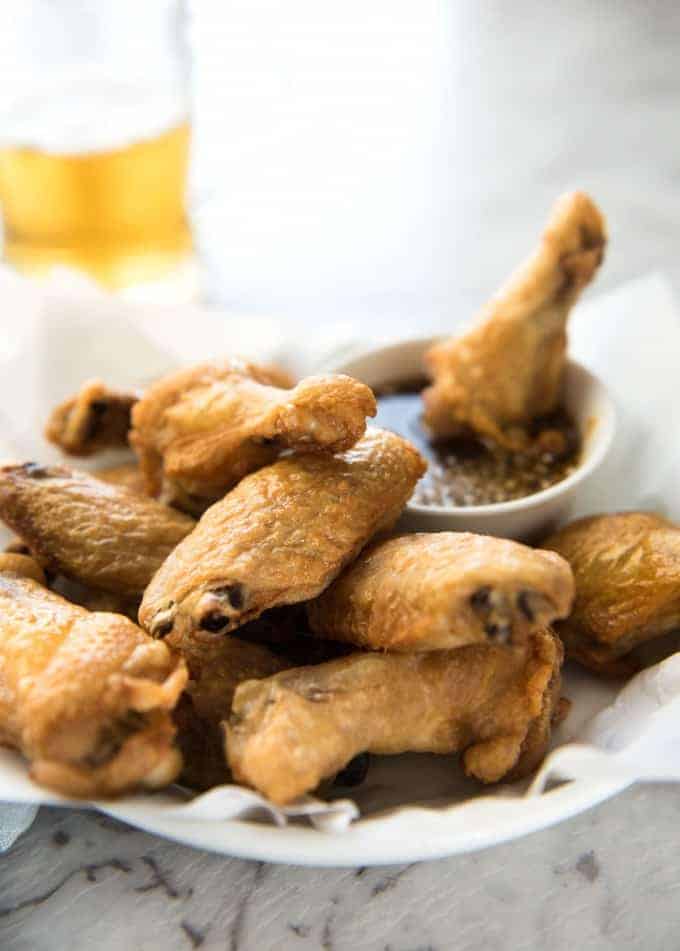
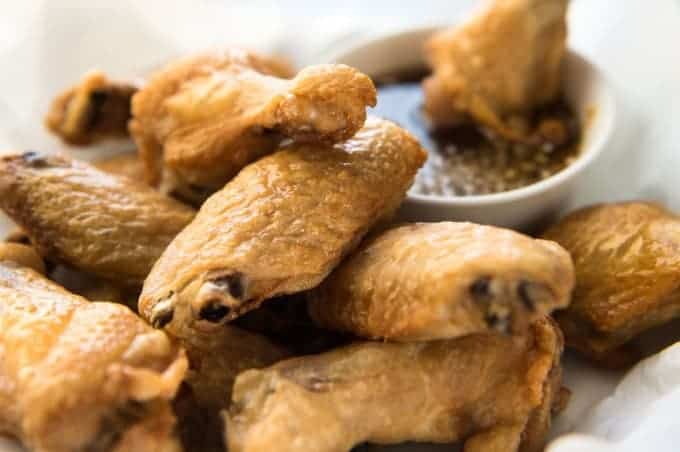
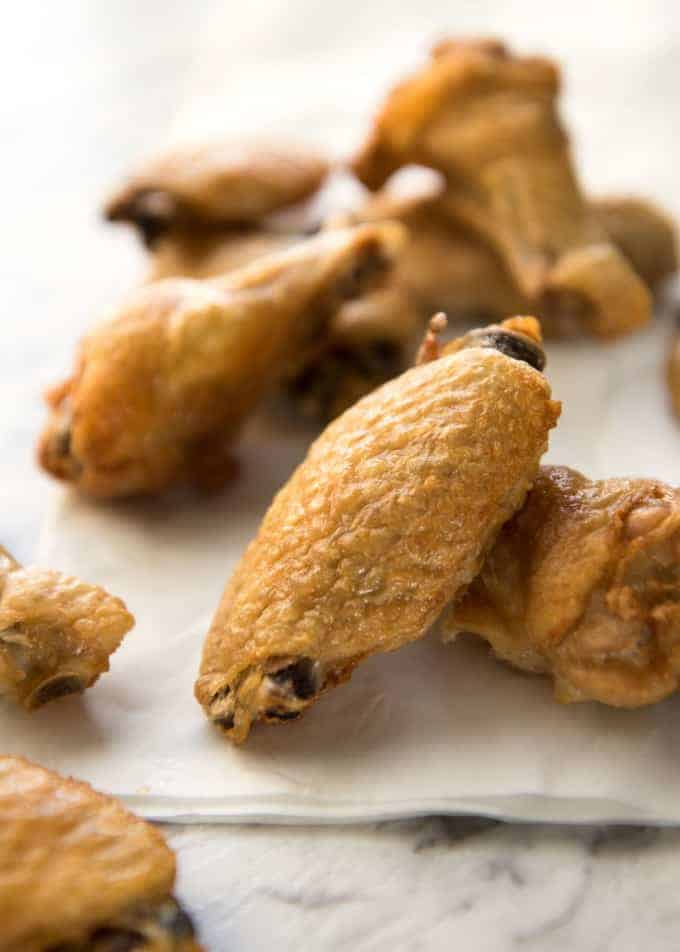
These are so good they can be eaten plain. Or toss them in your favourite sauce, or serve it on the side. I’ve provided a selection of sauces for these crispy baked wings in the recipe below!
Truly crispy oven baked wings
This recipe for how to make Crispy Oven Baked Wings is a discovery by the genius folk over at Cook’s Illustrated. Being the food nerd I am, I really enjoy how Cook’s Illustrated explains the science behind why they do things in a particular way. And I honestly believe this to be one of their most all time most epic recipes, especially because it’s so insanely EASY!!! And today, I’m sharing the secret with you. Are you ready? 🙂
How to make crispy oven baked wings
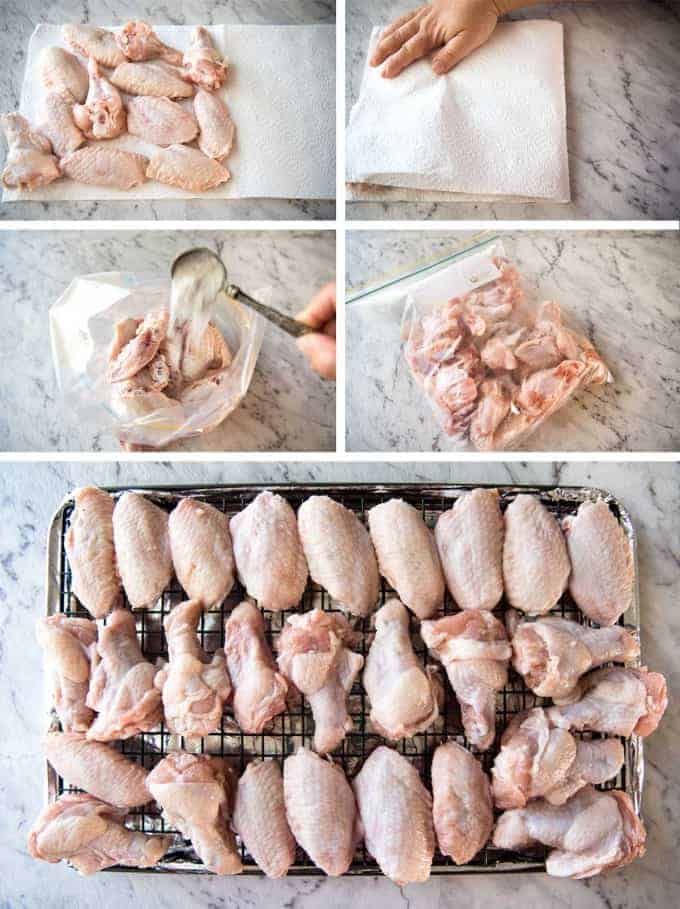
Crispy oven baked wings in 3 easy steps: Yes, that’s it. That’s all there is to it. 🙂
Why this recipe works
In those 3 simple steps are 2 very important things to make these truly crispy oven baked wings:
- Coat in baking powder – yes, you read that right, baking powder! I won’t go into all the technicalities, but in a nutshell, the baking powder draws moisture to the surface of the skin so it can evaporate, thereby making the skin crispier; and
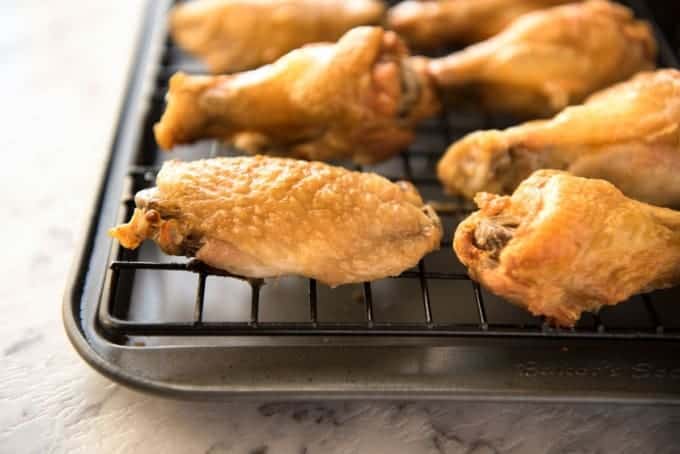
- Bake for 30 minutes on low to melt the fat before blasting in a very hot oven to crisp up the skin. There’s a lot of scientific explanations around this and I’ll skip it because I’ll bore you! But basically, the wings are first baked on the lowest shelf in the oven at a very low temperature for 30 minutes which causes the fat under the skin to “melt”, then you move the wings up to the top shelf and crank up the heat which crisps up the skin. The other tip is ensuring that the wings are dry. If you are organised enough, put the wings on the rack and refrigerate, uncovered, overnight. However, I neither have the fridge space nor am I organised enough, so I just dry them using paper towels (see photo below for how I do this). When these come out of the oven and you tap the skin with your nail, you can instantly “hear” how crispy the skin is. They even look like they’ve been fried! And in case you are concerned, you don’t taste baking powder at all. You will notice that the wings are smaller than you are used to. That’s because so much of the fat under the skin melts off the wings – you’ll see it all pooled on the tray. So these have the added benefit of reduced calories too! You can toss the wings in your sauce of choice or serve the sauce on the side. I’ve also shared classic Buffalo Wings using this same method for crispy oven baked wings. For this recipe, I’ve included a few simple sauces that I like to serve wings with: Honey Garlic Sauce, Honey Mustard Sauce, Ranch Dipping Sauce. Let’s get stuck into these wings! – Nagi x PS I’ve now published the Buffalo Wings version! Here it is: Truly Crispy Oven Baked BUFFALO Wings.
Watch how to make it
Originally published in November 2014, updated with fresh new photos and step by step photos!
Frequently asked questions
I don’t have a rack. Does this cause a problem? The skin will still be crispy but the bottom of the wings that is in contact with the tray will be oily. This is because the purpose of the rack is to elevate the wings off the tray and allow the chicken fat to drip down. One way to get around an oily underside is to take the wings out after around 35 minutes during the high temp cooking. Drain the oil out of the tray then return to the oven to finish crisping/browning. You could also drain the excess oil from the wings on paper towels before serving. Can I make ahead? These stay crispy for as long as the wings are warm, so around 20 – 30 minutes. After that, the skin starts to wrinkle and soften. However, I was shocked how well they reheat! Just allow the wings to cool (uncovered), then cover and refrigerate. Spread wings out on tray, skin side up, and bake for 5 to 8 minutes at 200C/390F. The skin smooths out and puffs up, just like when they were baked fresh. Other than to you (if you’ve made as many wings as me!) and true hard core Wings experts, the difference in juiciness and crispiness is barely noticeable – my friends never notice when I reheat! The skin stays crispy for around 10 – 15 minutes after tossing in the sauce, then after that they start to soften but not go soggy, up to around 30 minutes. If you reheat after tossing in sauce, they go soggy. Please do not toss in baking powder then refrigerate or freeze, this won’t work (makes the wings sweat too much to become crispy). Can I add seasonings? You sure can! It does marginally reduce the actual skin crispiness but a crust forms from the extra seasonings/spices and adds more crunch. I did a lot of testing around this and I can assure you it works really well! There was a lot of smoke! Help! A few readers have had this problem and I don’t think it’s from the chicken wings because I’ve made a ridiculous amount of these wings (in my kitchen and others) and never had the problem. The problem may be: a) spillage of chicken fat onto the oven burners when transferring from the lower to the upper shelf or b) there already was fat on the oven burners. I can’t think of anything else. While the smoke point of chicken fat is below that of the high oven temperature used in this recipe, the fat is not in direct contact with the heat because it’s shielded by all the wings and diluted by chicken juices dripping into the fat. You really don’t need to flip? Really! Even if you don’t use a rack, the underside will get crispy. Can I make this with other cuts of chicken? Yes BUT the crispiness will only work on the skin. So it works best on wings because they are almost fully enclosed by skin. With drumsticks, thighs and skin on breast, they are not fully encased with skin when raw and the skin shrinks while cooking. But the actual technique works super well! For 1 kg / 2 lb drumsticks or other cut of chicken, using 2 tsp of baking powder and 1/4 tsp salt – less than the recipe for wings because there is less skin surface area.
Life of Dozer
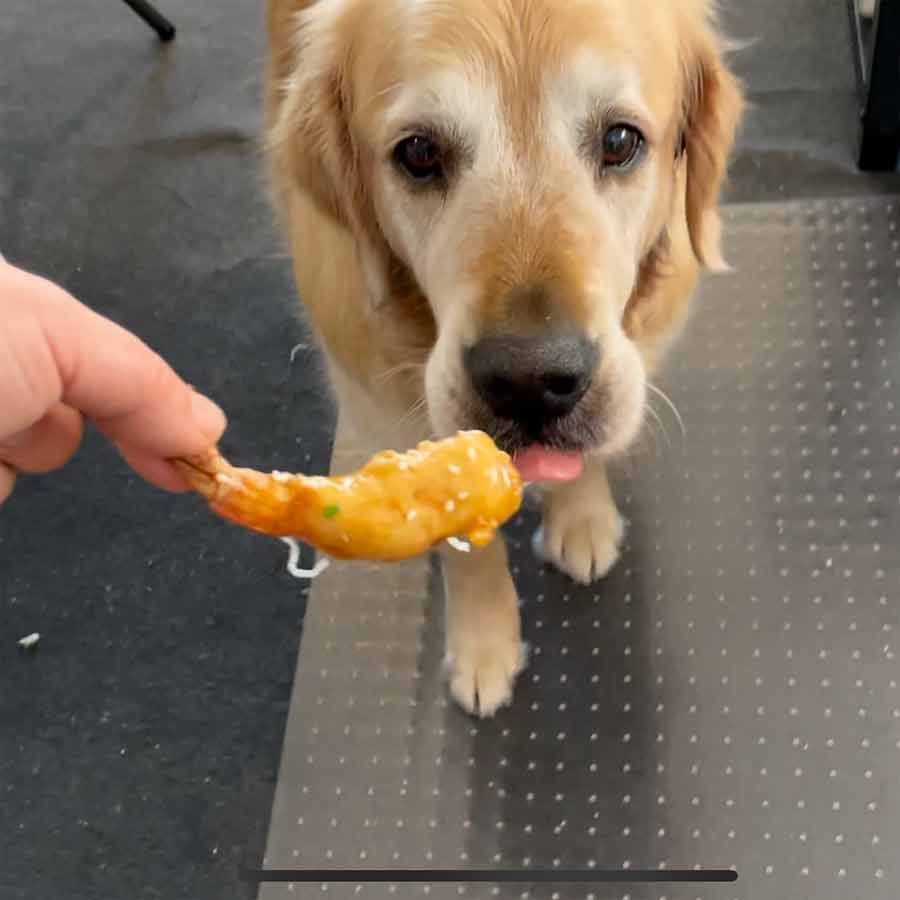
No wings for Dozer – cooked chicken bones are dangerous for dogs! How about a Honey Prawn instead?? SaveSaveSaveSave
